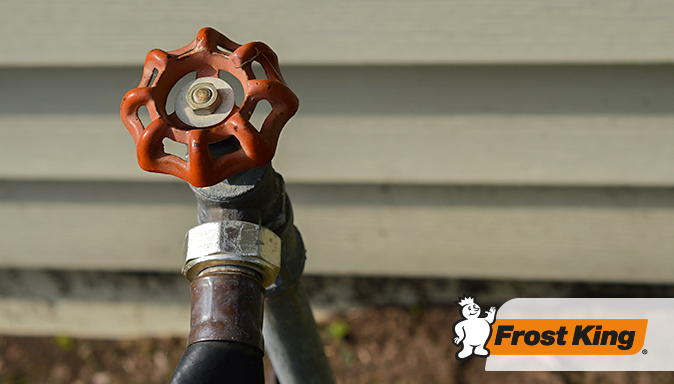
When water freezes, it expands in volume by about 9 percent. This isn’t just a cool scientific factoid: when it comes to the water in your home’s pipes, this phenomenon can become a very real problem.
If water freezes in your pipes, the pipes can be damaged or burst—and when that happens, water can flow into your home and cause thousands of dollars in damage.
Fortunately, there are lots of easy DIY projects you can tackle to protect your pipes. Pipes that are near the outside of your home are the most vulnerable, so pay attention to any that run along the exterior walls of the house or are in unheated areas, like the garage, basement, attic, or crawl space. Then, take the following steps to keep your home’s plumbing in tiptop shape during the coldest days of winter:
If even after all these precautions you end up with frozen water in your pipes, you can thaw them out yourself, but be careful — if the pipe has burst anywhere along the line, water will flow right into your house once the ice is melted.
If you are able to locate the section of pipe that is frozen and want to fix it yourself, start by turning on faucets so the water has somewhere to go once it starts moving. Then, apply heat either by wrapping the frozen section of the pipes with an electric heating pad or blowing hot air on the pipe with a hair dryer until the ice has melted.
If you discover water flowing from a burst pipe, act fast to minimize the damage. Turn off your water at the main shutoff valve, then open a faucet to drain any remaining water and release water pressure in the pipe. Use a mop, rags, and a wet/dry shop vacuum to soak up as much water as you can, then crank up the heat and turn on a dehumidifier to dry the area out.
