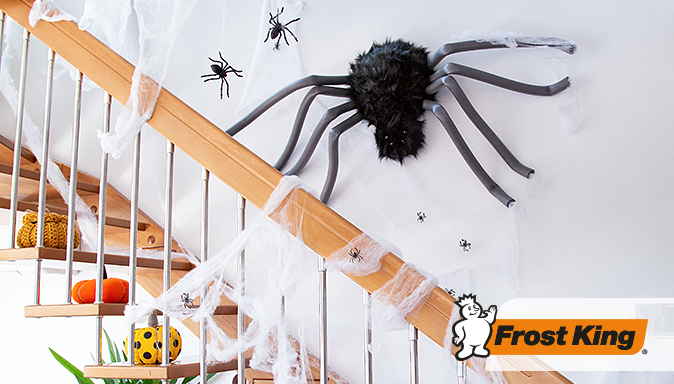
Want to trick out your house for trick or treating next month? We’ve got a 30-minute craft idea that’s sure to get your spidey-senses tingling!
You will need:
• 128” of craft wire, cut into (4) 32” equal pieces
• 3’x3’ piece of black faux fur fabric
• (1) 4.7” foam half ball
• (1) 9.6” foam half ball
• Glass craft eyes
• Marker
• Hot glue gun
• Glue sticks
• Awl
• Pliers
• Utility knife
• Scissors
• (2) 6’ length Frost King Tubular Foam Pipe Insulation for 1” pipes, cut into (8) 18” pieces
To make the spider:
1. Use the utility knife to cut a flat edge on each of the foam half balls. Set aside.
2. Mark 4 dots on one side of the larger foam ball for the spider’s legs; repeat on the other side. Use the awl to poke holes into the foam, then thread the craft wire through the holes, leaving an equal amount of wire on either side. Put a dot of glue where the wire meets the foam to hold it in place.
3. To form the spider’s shape, apply glue to the flat edge that you cut on each foam ball and press them together. Set aside to dry.
4. Once the glue has dried, cut two pieces of fabric to cover the spider head and body. Drape the fabric over the spider form; cut slits for the wire, and then hot glue the fabric into place. Let dry.
5. Use the pliers to bend a loop at the end of each piece of wire, then carefully slide a piece of Frost King Tubular Foam Pipe Insulation onto each wire. Apply glue to the edge of the foam pipe insulation where it meets the spider body and carefully push it into place to secure it to the fabric. Repeat with the remaining pieces of foam pipe insulation.
6. When the glue has dried, use the pliers to bend the wire loop at the end of each leg over the foam pipe insulation to hold the legs in place. Carefully bend the legs into shape.
Use your hot glue gun to add eyes to the head:
